MIO-5355 Yocto User Guide
Product Introduction
Product Features
- Qualcomm® QCS6490/QCS5430 on 3.5" SBC, support extend operating temperature -20~70°C
- Powerful but Low Power with 8x Kryo 670 CPU from 1.9 up to 2.7 GHz + Adreno GPU 643 + up to 12.3 TOPs iNPU
- Rugged Design with On-board 8GB LPDDR5 and 128GB UFS or eMMC
- Flexible Displays with HDMI and LVDS or eDP & Rich I/Os: 2x GbE, 6x USB, 4x COM, 2x MIPI-CSI, 1x Audio
- 3x M.2 Expansions: M.2 E-Key 2230 for WiFi/BT, M.2 B-Key 3052 for 4G/LTE, M.2 B-Key 2280 for NVMe Storage
- Various OS Support: Yocto, Windows on Arm and Ubuntu
Product Official Website Link
Hardware Interface Introduction
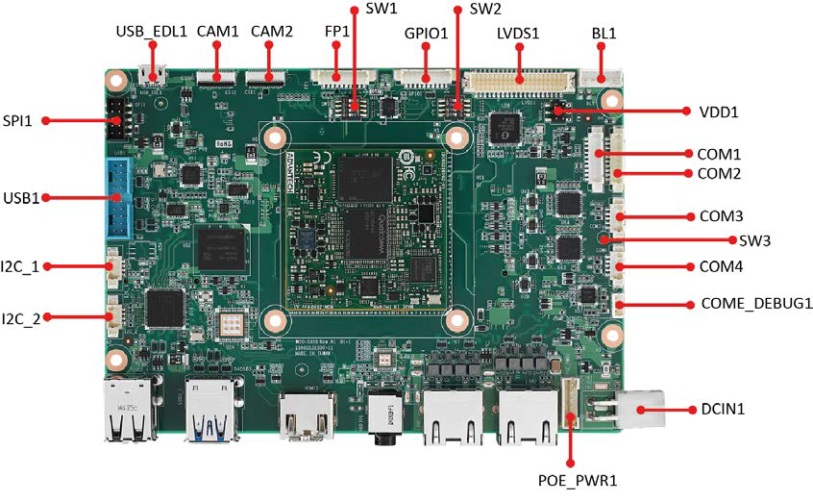
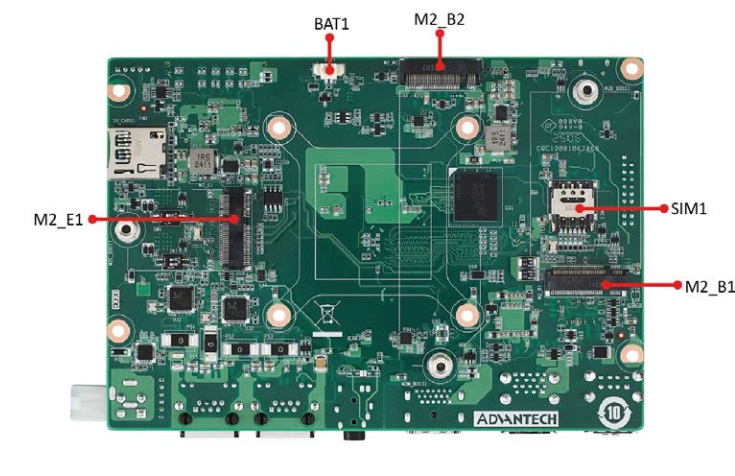
Layout
Switch / Jumper Settings
SW1
- SW1 ( 1-on ) : USB EDL Mode (Forced Recovery)
- SW1 ( 1-off ) : Normal Boot
- SW1 ( 2-on ) : AT Mode
- SW1 ( 2-off ) : ATX Mode
- SW1 ( 3-on ) : UFS
- SW1 ( 3-off ) : EMMC
- SW1 ( 4-on ) : LVDS (DVT Support)
- SW1 ( 4-off ) : eDP (DVT Support)
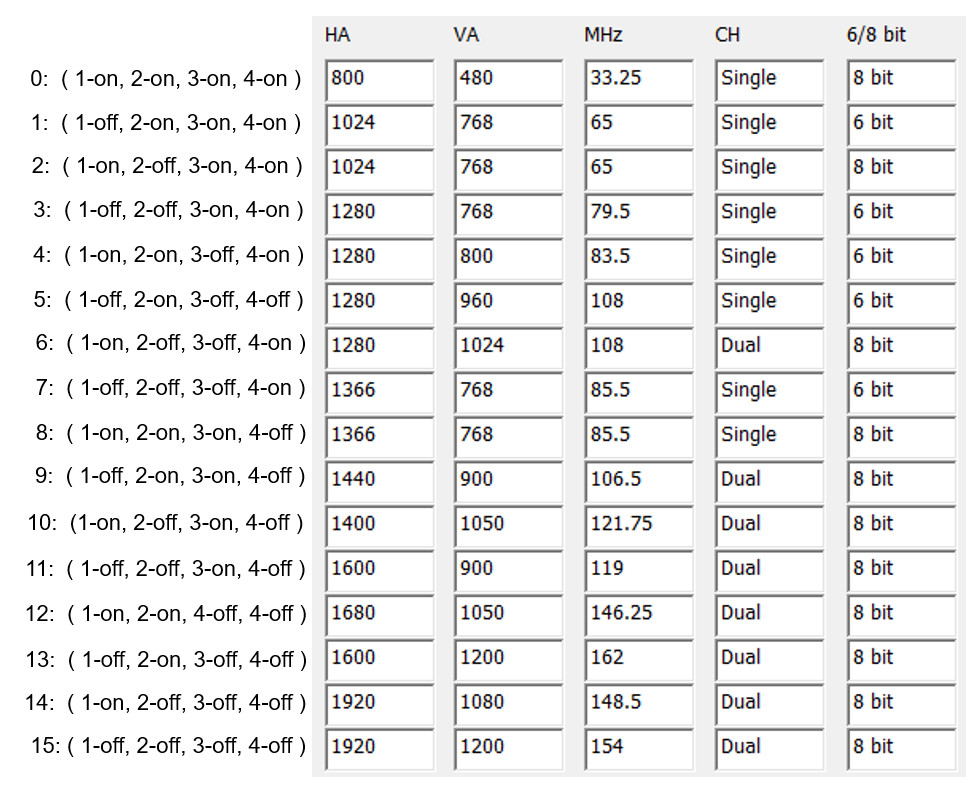
SW2
- LVDS Resolution setting
SW3
- SW3 ( 1-on ) : COM1 TERM RX Enable
- SW3 ( 1-off ) : COM1 TERM RX Disable
- SW3 ( 2-on ) : COM2 TERM RX Enable
- SW3 ( 2-off ) : COM2 TERM RX Disable
VDD1
- VDD1 ( Select 1,3 ): 3.3V
- VDD1 ( Select 3,5 ): 5V
- VDD1 ( Select 3,4 ): 12V
OS Download
Yocto 4.0: 2025-10-14
Recovery & Rescue Method
-
Download the Qualcomm Software Center
-
Open the Qualcomm Software Center
-
Search "PCAT" in the search bar

-
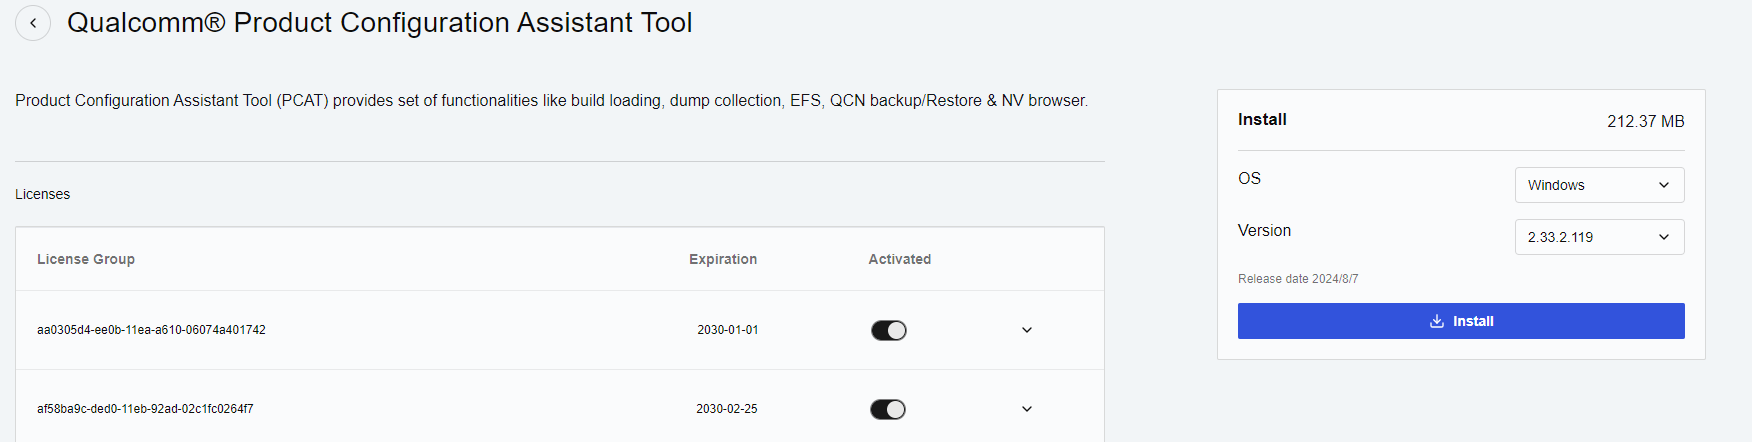
Click Qualcomm® Product Configuration Assistant Tool
-
Select Qualcomm® Product Configuration Assistant Tool version
- Version: 2.33.2.119
-
Install Qualcomm® Product Configuration Assistant Tool 2.33.2.119
-
Search "QUTS" in the search bar
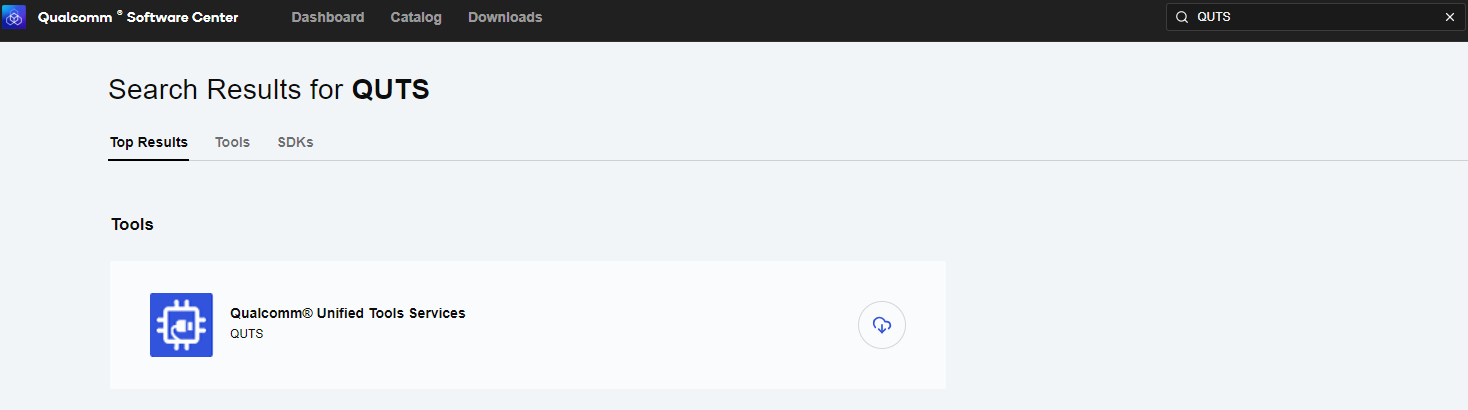
-
Click the Qualcomm® Unified Tools Services
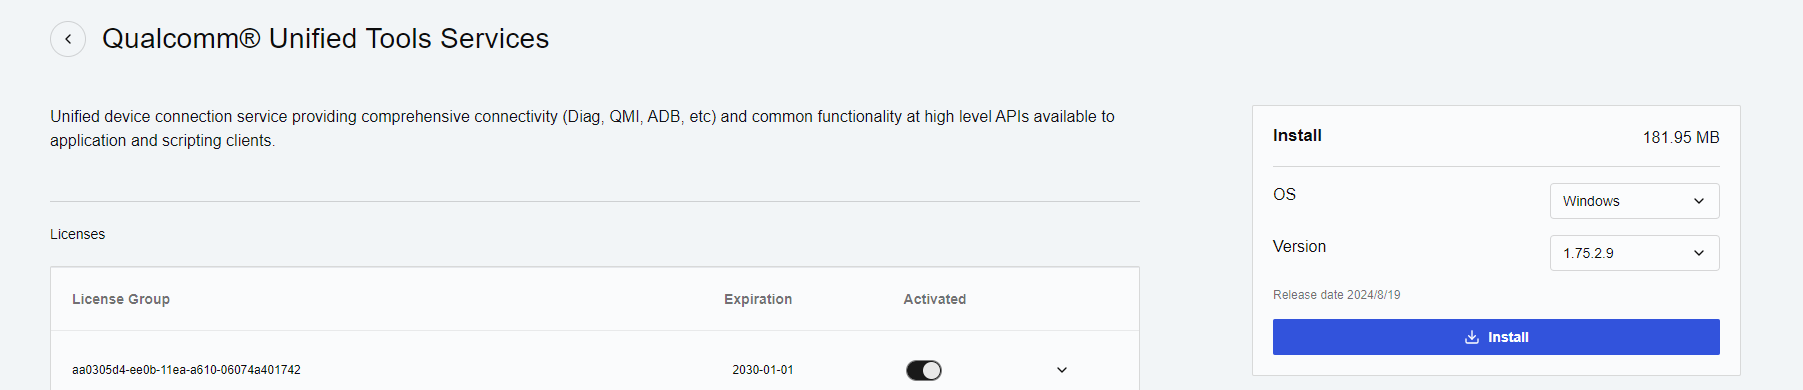
-
Select Qualcomm® Unified Tools Services version
- Version : 1.75.2.9
-
Install Qualcomm® Unified Tools Services 1.75.2.9
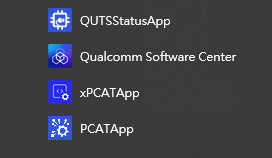
-
You will find the new application in your Windows system.
-
Unzip the UFS File and eMMC File. For example:
mio5355a1_yocto4.0.18-le1.1_v2.0.0_kernel-6.6.28_qcs6490_8g_emmc_2025-10-14.tgzmio5355a1_yocto4.0.18-le1.1_v2.0.0_kernel-6.6.28_qcs6490_8g_ufs_2025-10-14.tgz
-
Connect your device via Micro USB.
-
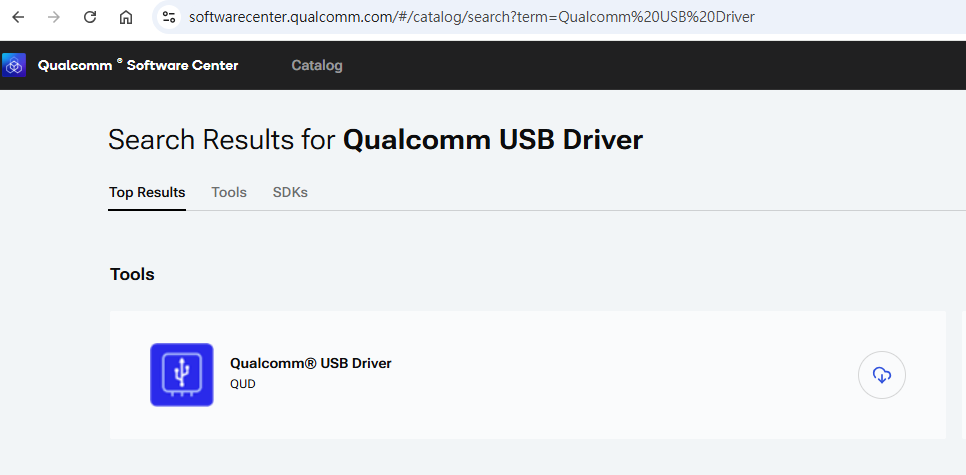
If your PC cannot identify the USB, please download the "Qualcomm USB Driver".
-
Search "Qualcomm USB Driver" in the search bar, then install the driver.
Flash UFS
For confirmation, we will erase the partition before UFS installation.
-
Change the SW1
- Flash UFS: the SW1 switch to 1-on, 3-on
-
Turn on the power
-
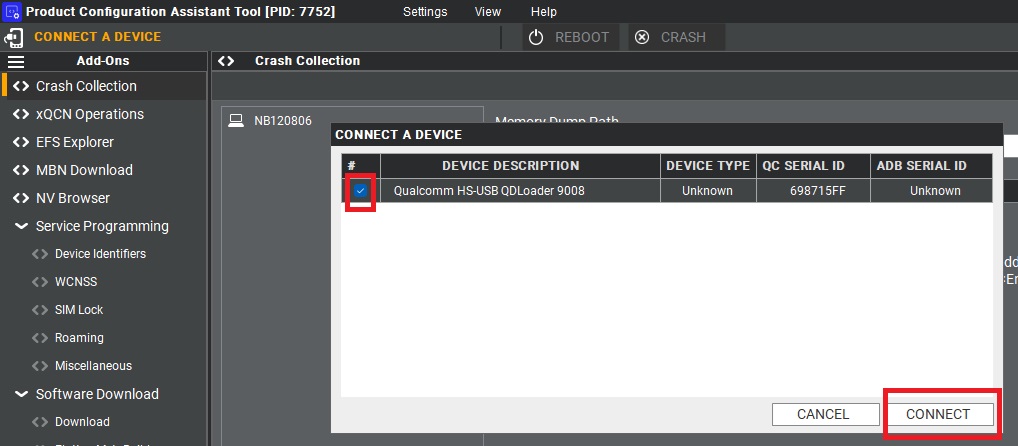
Open "PCATApp" Tool
-
Select "Qualcomm HS-USB QDLoader 9008" and click connect
-
When you connected successfully, it will show green words: Qualcomm HS-USB QDLoader 9008 (COM 11)

-
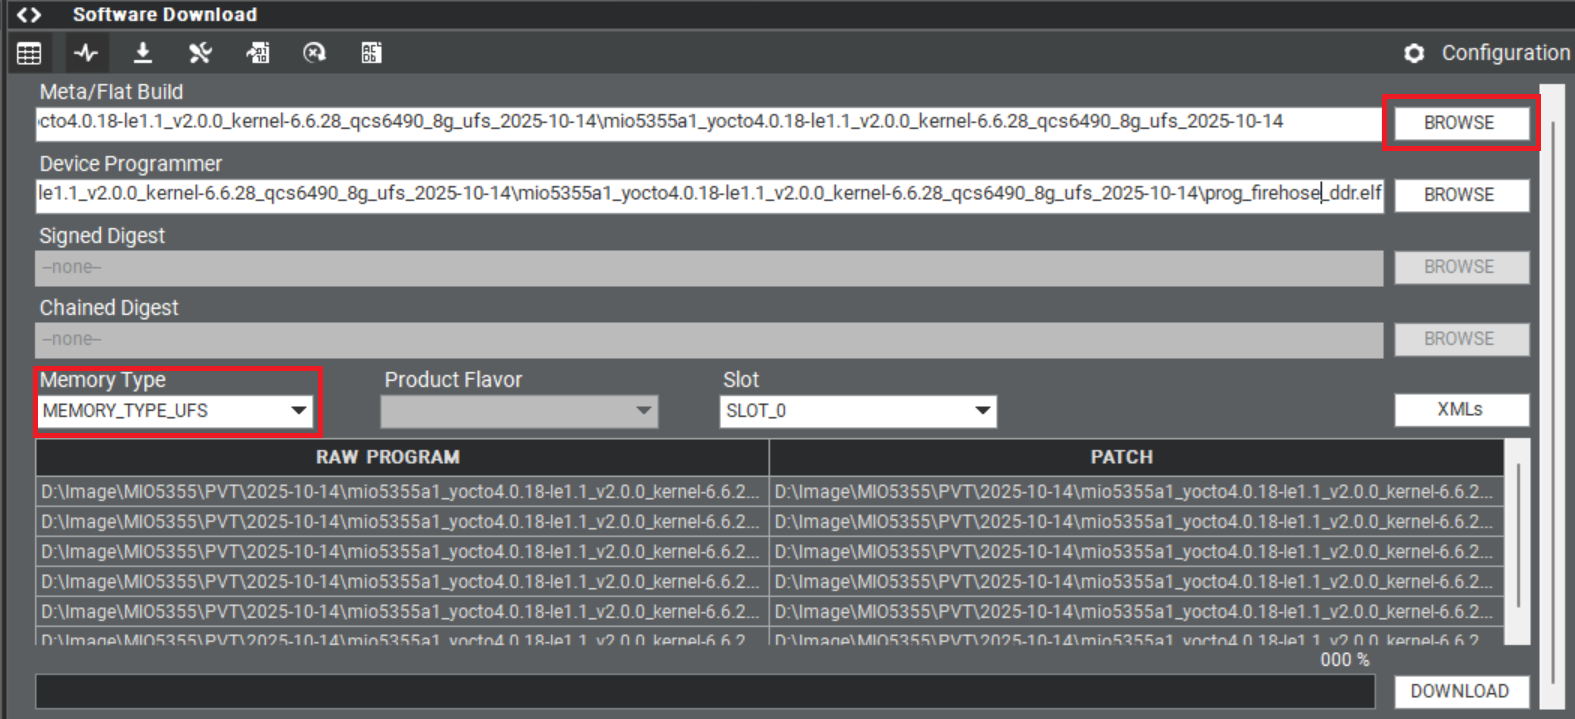
Select UFS Folder in PCAT Tool, the Tool will help load Files automatically and Select "MEMORY_TYPE_UFS"
-
Select provision button


-
Add the
prog_firehose_ddr.elfandprovision_ufs31.xmlin UFS folder.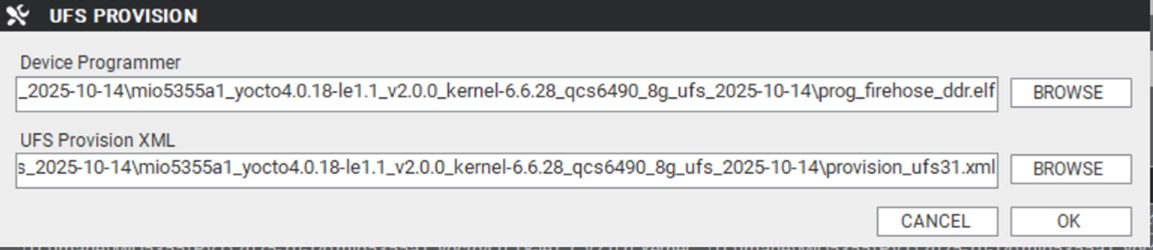
-
Then press "OK", it will start to do USF Provision.

-
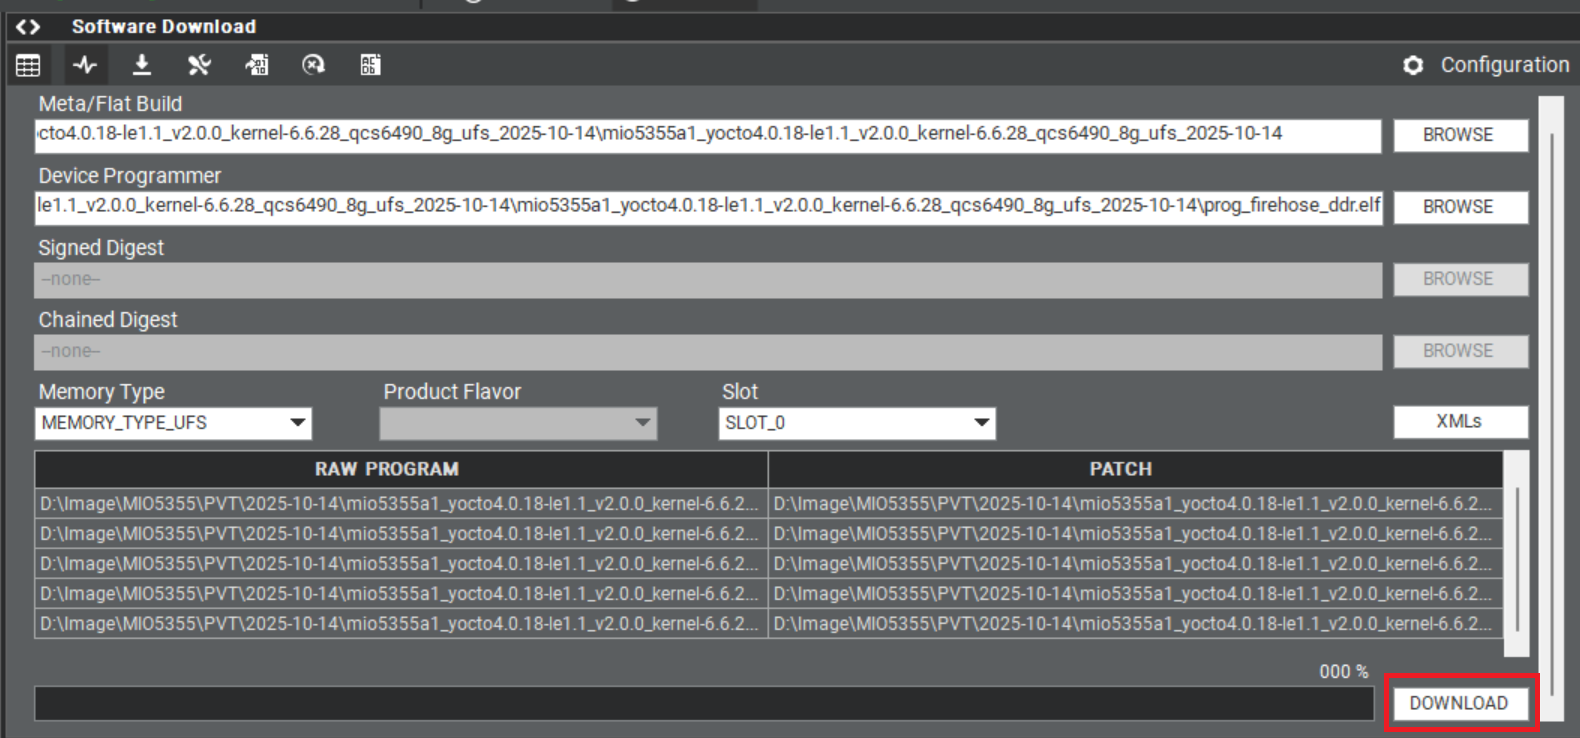
When the Provision finished, you can see the result in message window.

-
Click "Download"
-
UFS Download completed
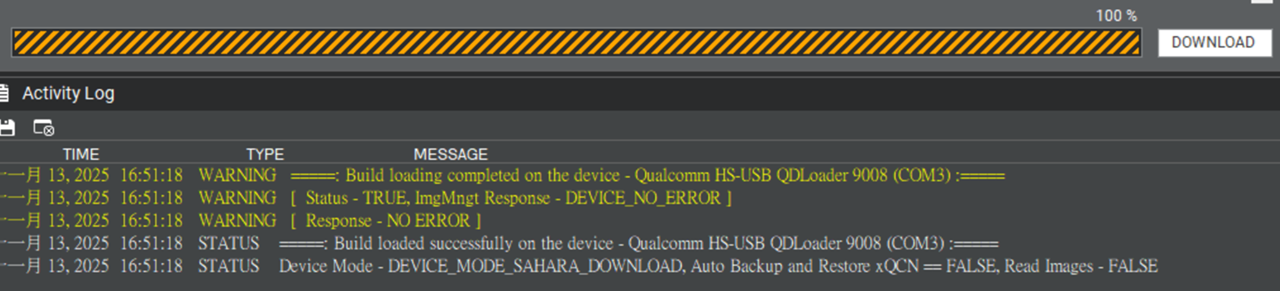
-
When you finish the download process, please change the switch.
- Flash UFS: the SW1 switch to 1-off
Flash eMMC
-
Turn off the Power
-
Change the SW1
- Flash eMMC: the SW1 switch to 1-on, 3-off
-
Turn on the power
-
Make sure the device connection status.
-
If the device disconnects with PCAT Tool, please connect it again.
-
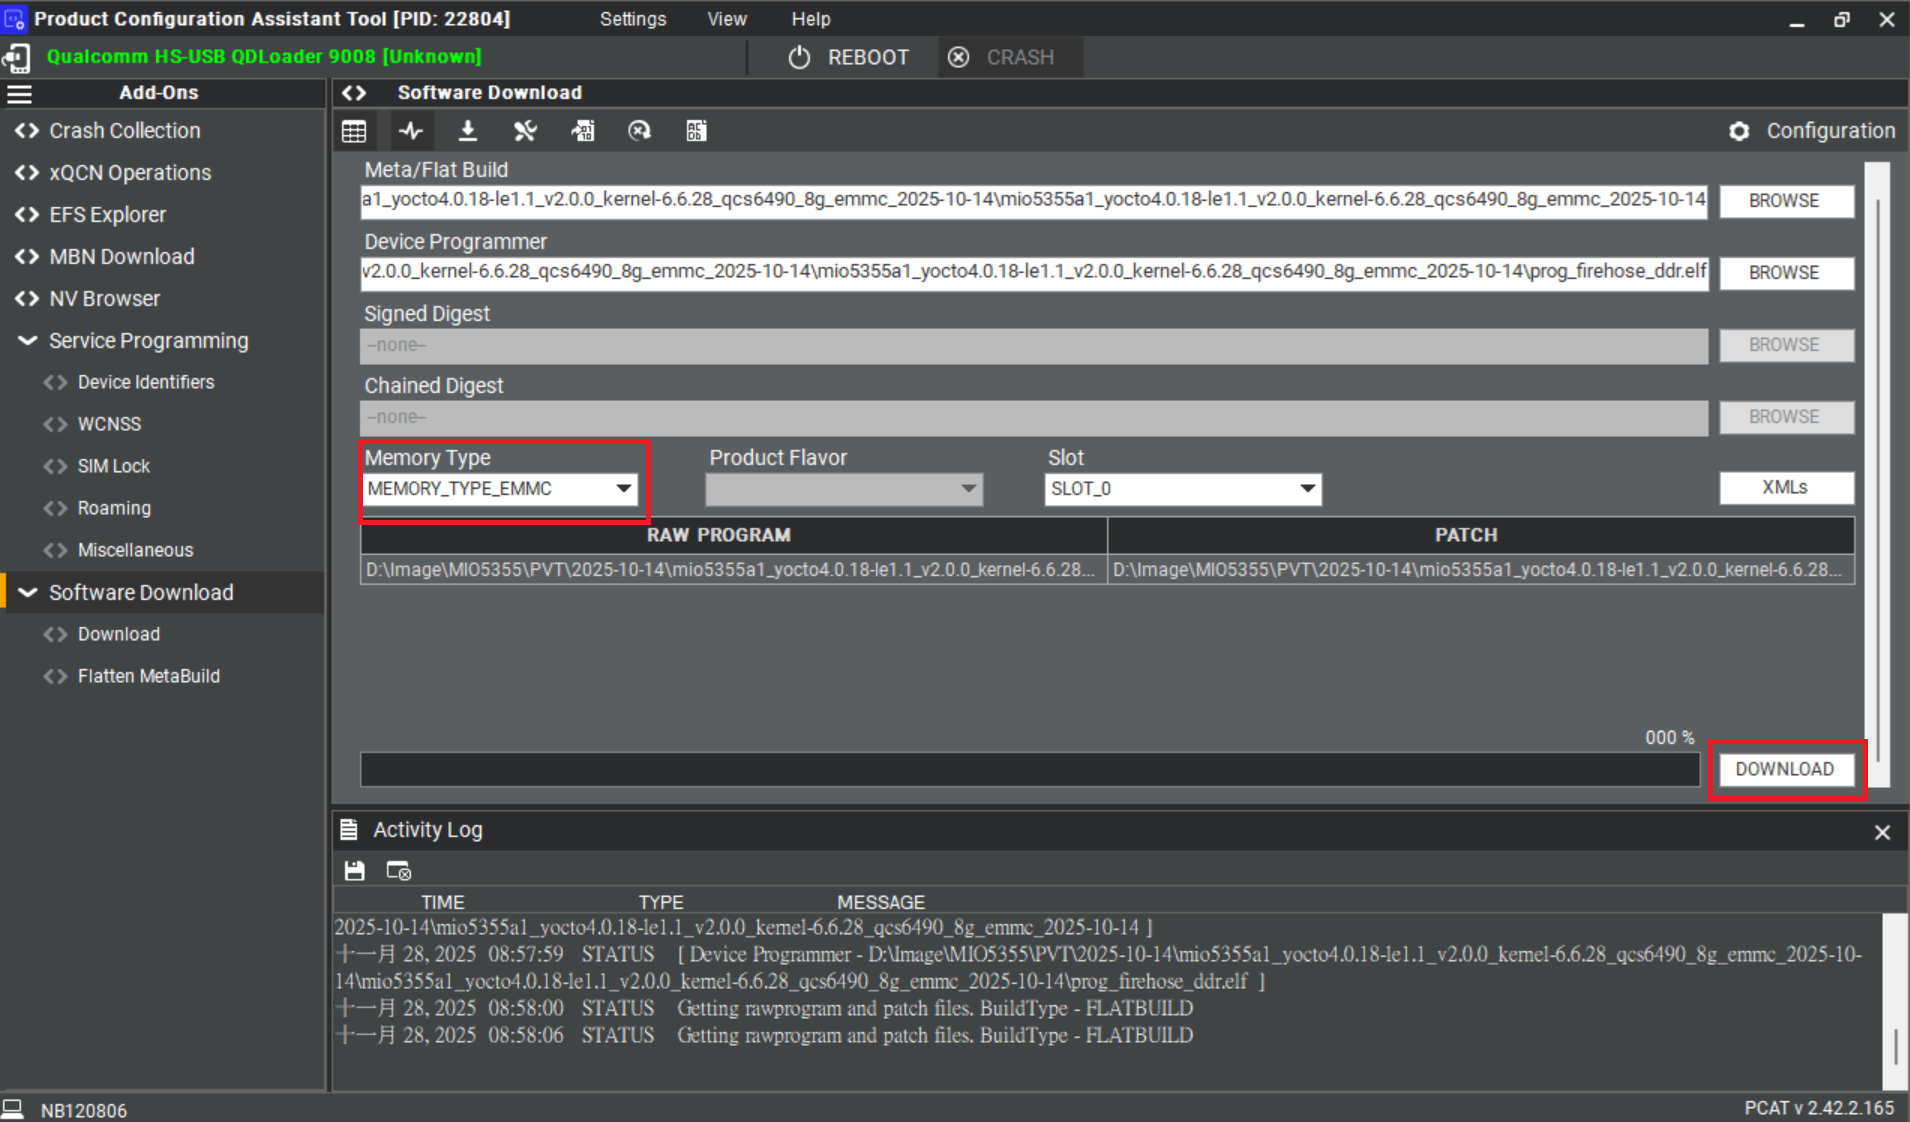
Select EMMC Folder in PCAT Tool, the Tool will help load Files automatically and Select "MEMORY_TYPE_EMMC"

-
Make sure the setting, then press "Download" button.
-
eMMC Download completed
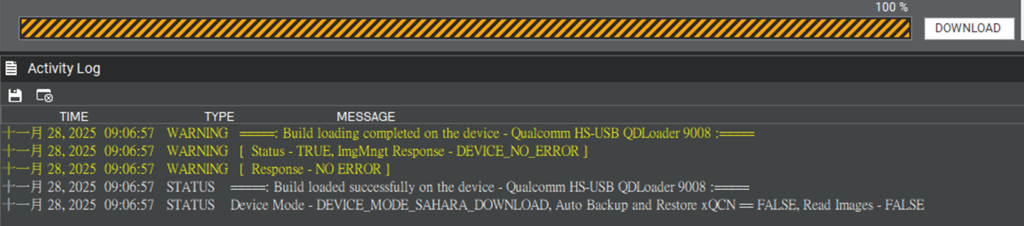
-
When the eMMC installation finished, Close the PCAT tool.
-
Please remove the Micro USB cable, turn off the power.
-
eMMC boot up: SW1 switch to 1-off
-
Connect debug cable and open the terminal, turn on the power.
Linux BSP Compile Method
Yocto 4.0 (LE 1.1)